It’s another Monday and you know what that means. It’s time for another Master’s Monday and it’s coming a few hours late. I apologize, I got sick last night before I had a chance to finish the tutorial.
Why Polaroids?
I’ll admit, I’ve always like polaroids. I don’t really know why and sadly, by the time I was born polaroids were already starting to slowly go out of style. I have a couple pictures from when I was growing up that were taken with a polaroid, however. My parents never owned one, but a few other people did. I think I kind of liked how instant it was and you didn’t have to wait until you developed film to see pictures.
I liked this effect so much that I tried (and mostly failed) and used the same concept on my families blog.
So when I saw this tutorial, I KNEW I had to be the one to share it with the rest of my scapper friends.
The How-To’s
The original tutorial comes from Phlearn.com. This is a great site that has lots of tutorials for some great tricks in Photoshop. You can see the video for the Polaroid tutorial below.
Now because I don’t use Photoshop and I use Corel Paintshop, I had to do things a little differently. If you use Paintshop like I do, you can follow my tutorial to get the same effect.
This first step actually applies to all of us, as the video keeps the background on the polaroid and if we’re going to use it in our pages, we need to get rid of that background.
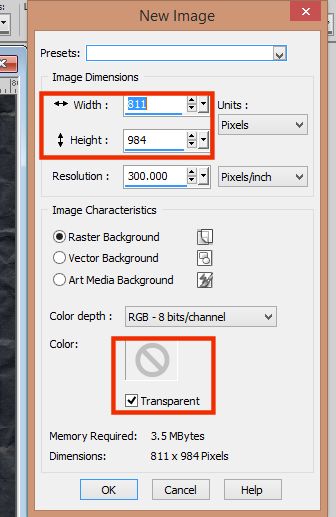
So our first step is to see what size the original image is. I do this by quickly clicking on IMAGE – CANVAS SIZE in my toolbar. After clicking on that I discover that the dimensions of the polaroid image I’m using is 811 x 984.

I then want to create a new layer using the same dimensions. It’s also important to make sure our background is transparent.
You can see that our images are now the same size. This is important.
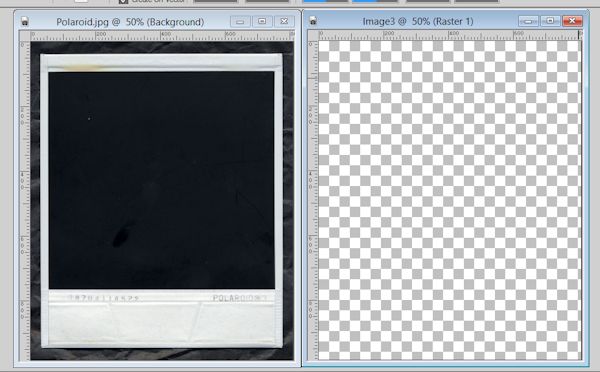
You then copy your polaroid image and paste it as a new layer onto your blank canvas.
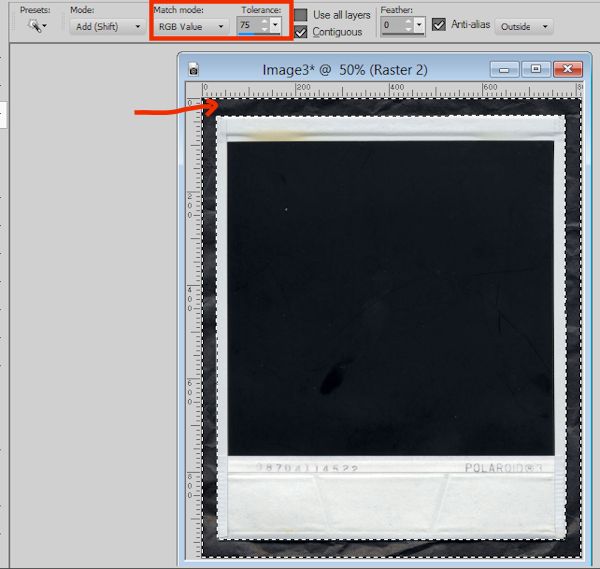
Click on your magic wand tool and select the area on the outside of the polaroid. We are trying to get rid of that greyish background so that we have a transparent one to work with on our layouts. You may need to play with the match mode and tolerance to get only the background selected.
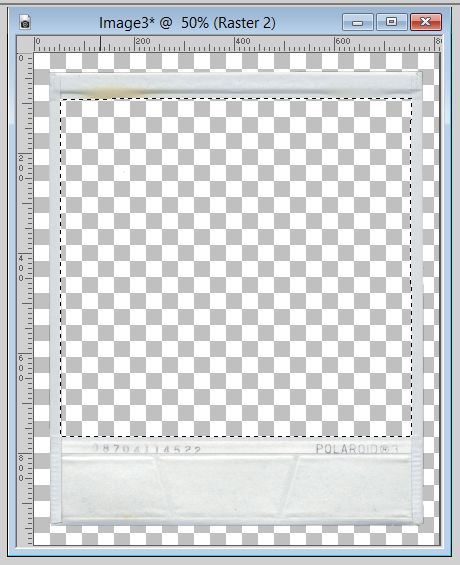
Click DELETE and voila! You now have a transparent background.
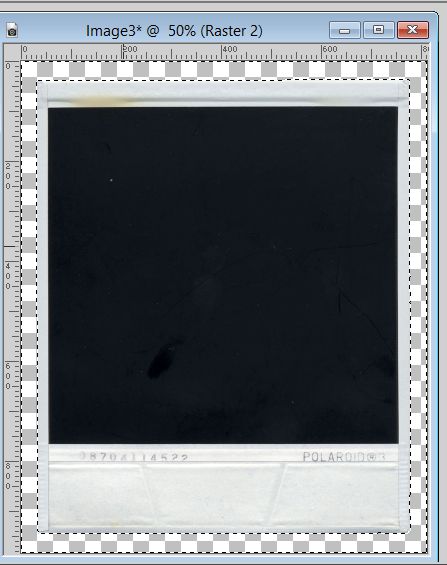
Go to SELECTIONS, SELECT NONE and the marching ants will be gone.
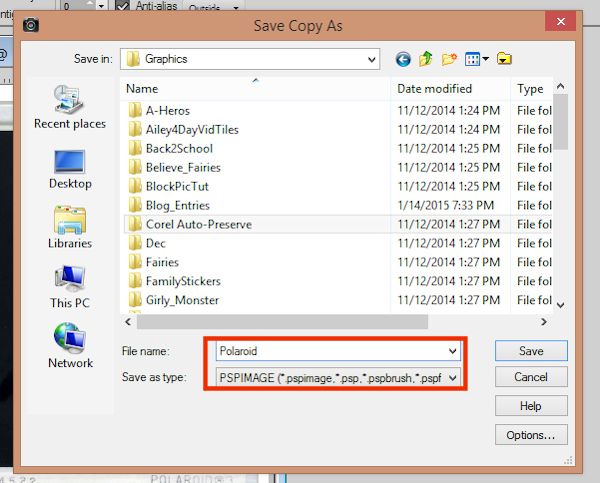
At this point I would save my file as a .psp image (or whatever program) so that you have it available for use later and you don’t have to delete the background over and over again. Saving it this way also keep the background transparent.
Now we’re going to get our picture into that polaroid.
Now we’re going to get rid of the inner black so we can replace it with our photo. We do this the same way we got rid of our background. Grab your magic wand and playing with the settings again, get it to the point where the only thing selected is that black square.
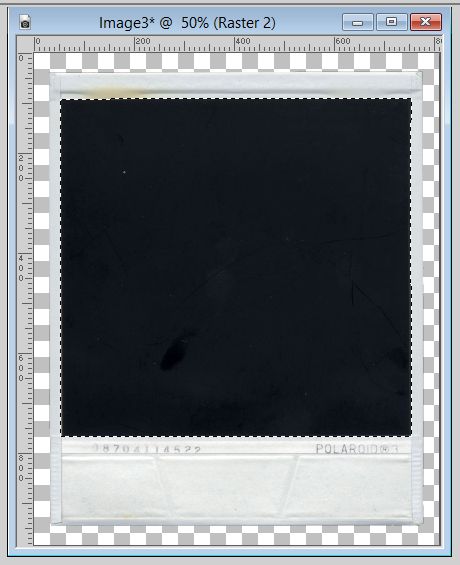
Click DELETE and your image will now be ready for use.
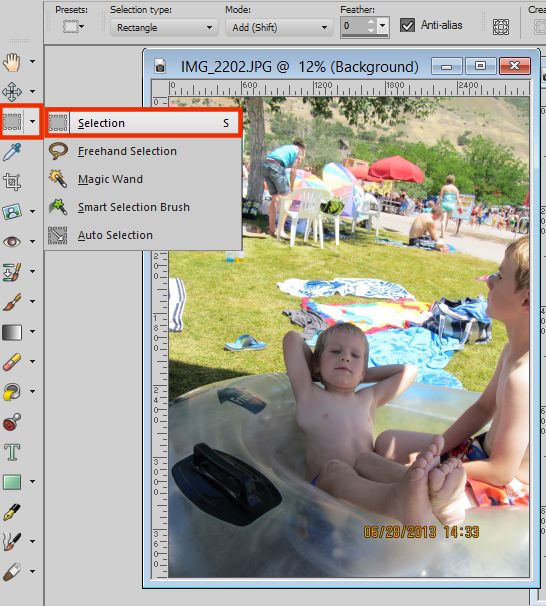
Now we’re going to go over to our picture to prepare it to move into our polaroid image.
Hit the magic wand button on your toolbar and switch it to the selection tool.
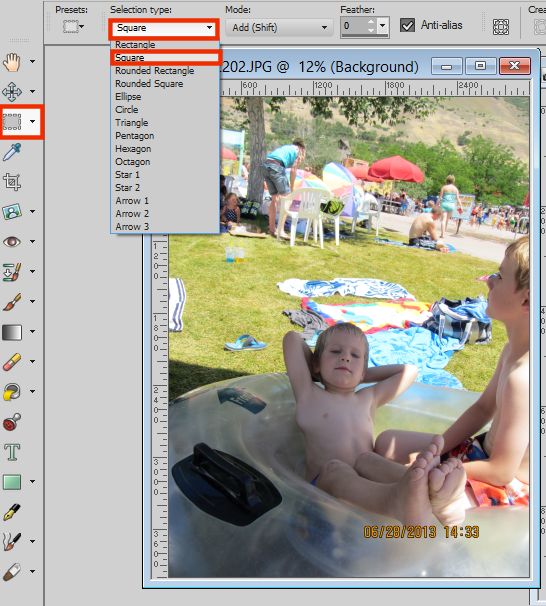
Then in the upper toolbar, in selection type – select square.
We then make our selection. It’s just like cropping, but it doesn’t cut out anything yet.
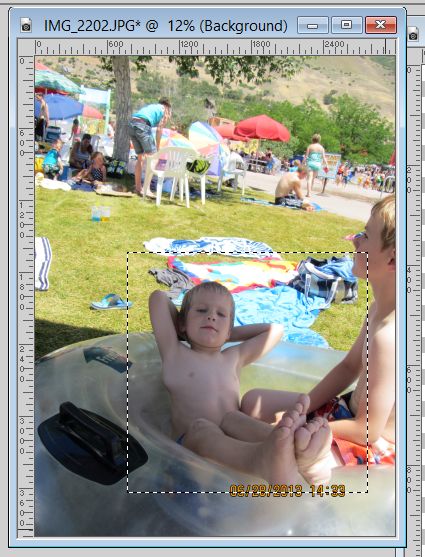
Now you can click EDIT – COPY or just right click and select COPY.
Switch over to your polaroid image and making sure that inner area is still selected, go to SELECTIONS – MODIFY – EXPAND in your toolbar.
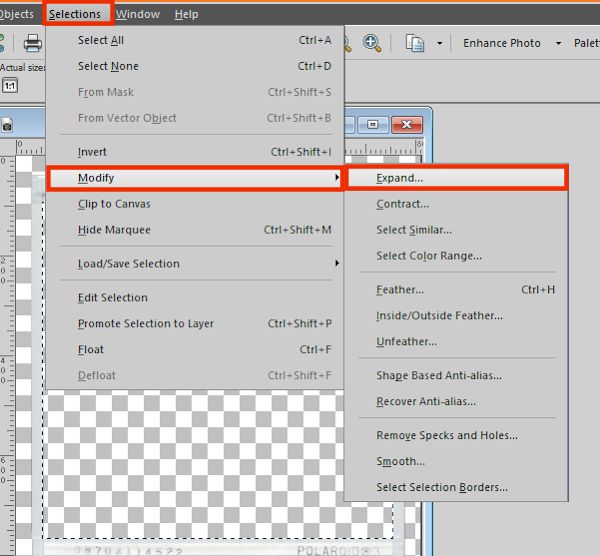
We don’t need to expand our square by much. We just want it to barely overlay part of the polaroid image.
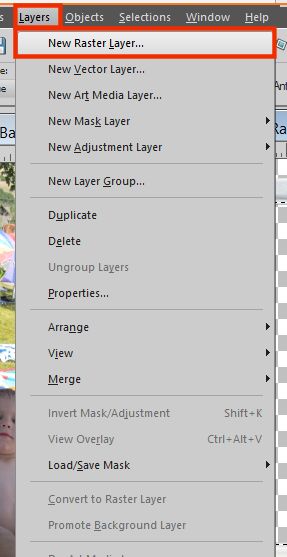
Create a new raster layer.
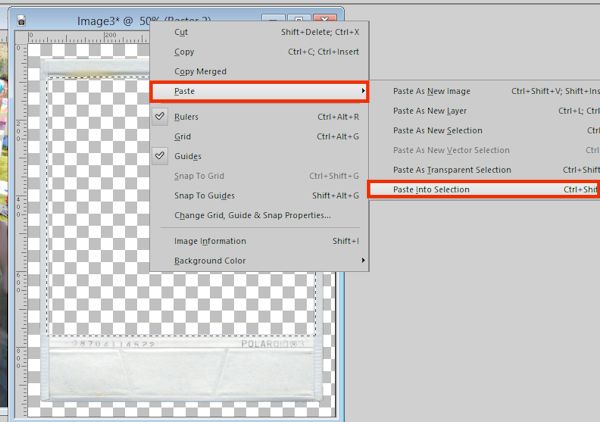
Now your picture should still be copied in memory, so now you want to PASTE the image INTO SELECTION.
Now go to SELECTIONS – SELECT NONE.
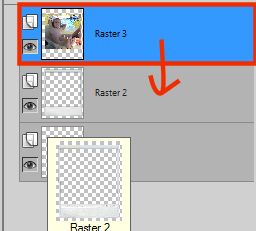
Now we need to arrange our layers. We want our picture to be the middle image.
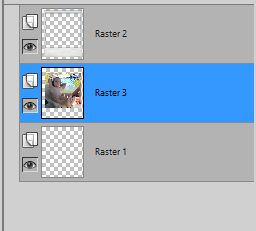
From here you can follow the video. Just make sure you duplicate the photo layer before starting and you’ll want to do all the edits they mention in the video on THAT layer. (Except for when he creates a new layer, do that.)
A few more notes to help you out:
When he mentions changing HUE/SATURATION – it’s found in the ADJUST category in your toolbar. From there you click COLORIZE and there is a SEPIA preset. If you want to up the SATURATION a bit, go to ADJUST again, but click HUE/SATURATION then HUE/SATURATION/LIGHTNESS.
The Gaussian Blur is found in ADJUST/BLUR.
At the very end with the text, you need to change the text layer from Vector to Raster. Then right click so it brings up PROPERTIES. Go to BLEND RANGES and that’s where the grey channel adjustment is that he mentions. You only need to mess with the top triangle in the bottom rectangle to get the effect.
I’d also choose a font that looks handwritten. It’ll help with the overall effect. I used my own handwriting for mine.
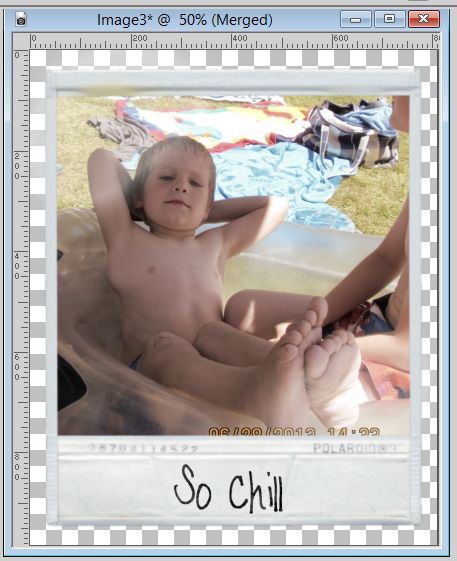
And here’s my cute little guy all ready for a layout.
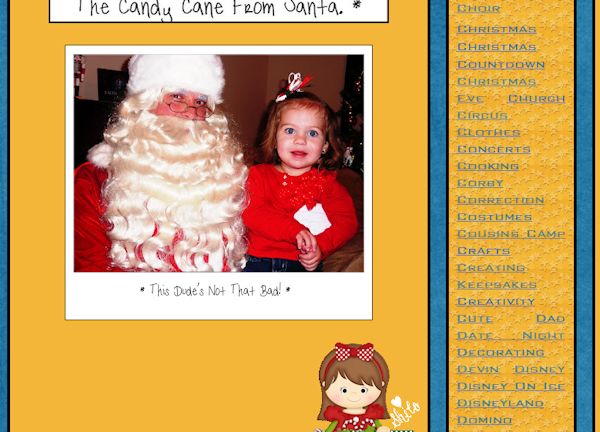
And here’s my fun, new layout with all my ‘polaroids’. I made my layout using Trixie’s newest release One Happy Day!
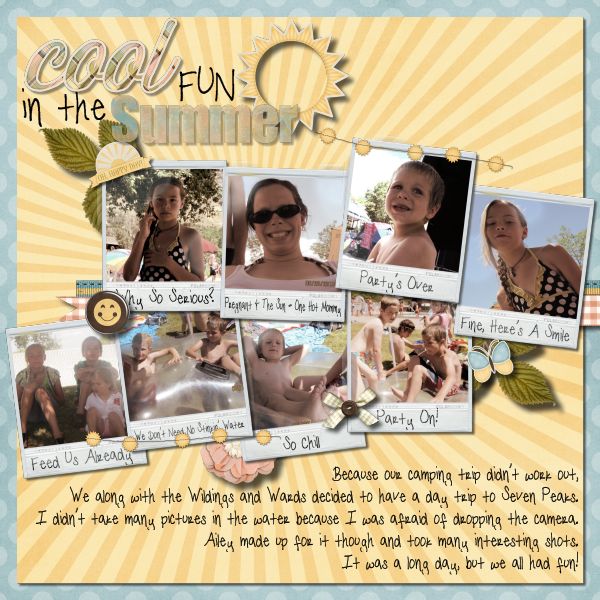
Cool Fun Layout by Shilo
Help Bring Polaroids Back
We want to see our gallery filled to the brim with Polaroid layouts. Remember, just by uploading your layouts – you can win a free prize!


