Hey, it’s Monday again! Time for another Masters Monday Photoshop Elements technique tutorial. This week I’m going to show you how to create the look of embossed vellum digitally. It’s super-easy and looks so good, you’ll be using it for lots of things. Let’s get started…
Open up a new 12×12 inch file on your workspace. (I always work big then make it smaller later so that I can see what I’m doing better.)
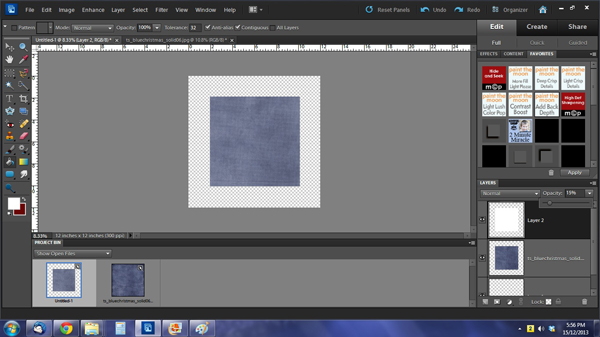
Drop a solid, dark coloured paper on your workspace. This will help you see what you’re doing too. If you have a specific use for your vellum in mind, choose the background paper you’re going to use for that so you’ll know exactly what it looks like. I used the dark blue solid paper from Trixie Scraps Blue Christmas for my example.
Resize or cut your paper to the shape you’re going to use. I wanted mine to be a square so I went with 8×8 inches.
Create a new layer on top of your dark paper then select Layer>New Fill Layer>Solid Color>Use Previous Layer to Create Clipping Mask>OK and then when the color palette opens, insert “ffffff” in the # box at lower right. That will give you a white fill the same size as your colored paper layer.

Now take the opacity of your white layer down to about 15% so that it looks something like this:
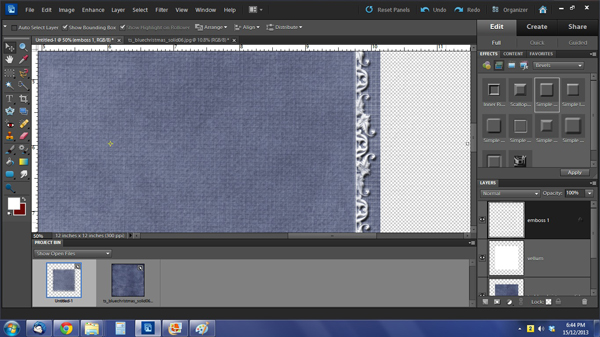
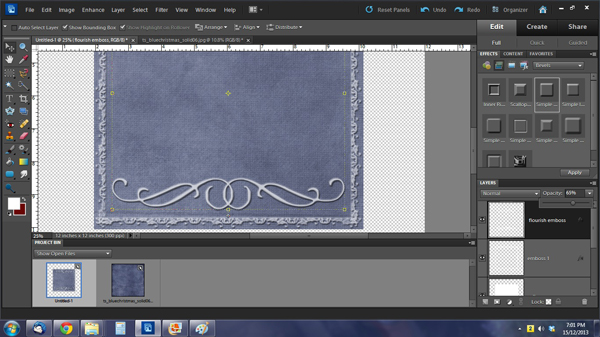
Create a new layer so that you can adjust ONLY the border. Choose a border brush or dingbat you can repeat to create a border. I used a border brush from FeiFei’s Stuff but a dingbat like DB Fleuries, DB Snow Sketch or DB Gaelic Weave would work. Create a white border around the edge of your white layer. If you’re using a dingbat you’ll need to duplicate your text layer and rotate it to form the border, then merge the four resulting layers. Here’s a close-up of the brush I used.

Here comes the fun part! Go to your Effects palette and choose Bevels>Simple Emboss>Apply. This is what you get:
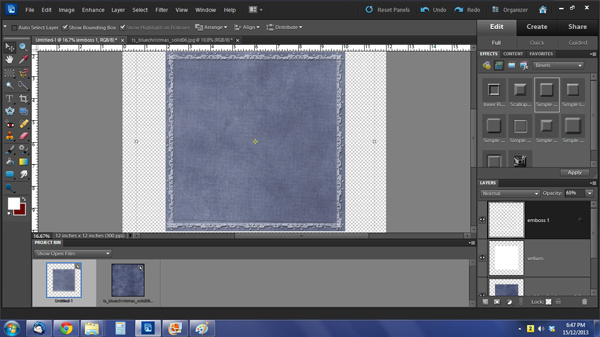
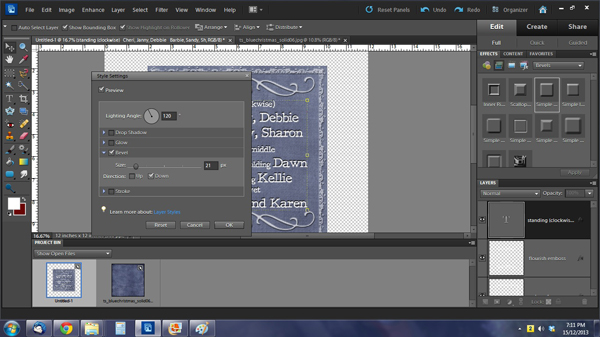
You can increase or decrease the embossing by double-clicking on the little fx icon on your layer in the layer palette and using the slider. I liked it just as it was, 21 pixels. Notice how it’s REALLY white? Now you can drag the opacity down to about 65% so that it looks more like real embossed vellum.
Don’t forget to put all of these steps on a new layer so if you make adjustments you’re only changing the layer you’re working on and not your whole file. I wanted to have a nice flourish at the top and bottom of my square piece of vellum so I used one of my dingbats… the “S” from DB Fleuries… then duplicated and flipped it. The steps for embossing the flourish are the same as for the border – simple emboss then bring down the opacity to 65%.
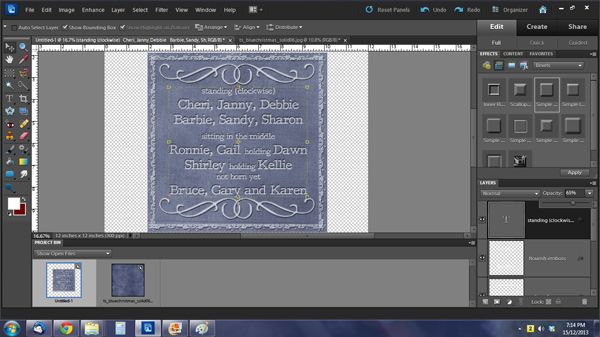
Once I had those features done, I went on to add some journalling. I used a typewriter font, but you could use a handwritten one if you choose. For this layer, once you’re happy with what it says and how it fits your space, again Bevel>Simple Emboss only this time you want to reverse your embossing. If you were using real vellum, writing or typing on it would leave an imprint on the vellum. To achieve this, use the tips I gave you in my Letterpress tutorial. Double click on the fx icon and click on the box that says “down”. You can then adjust the depth of the imprint using the slider.
Don’t forget to reduce the opacity to the same percentage you’ve used for each of the other embossed layers, about 65%. And you’re done!
One thing I haven’t shown you but would be a very nice touch is to erase the vellum around the outside of the border so that it looks die-cut. I’ll be honest, the reason I didn’t do it is because my border is so detailed it would have taken me hours to get it right.
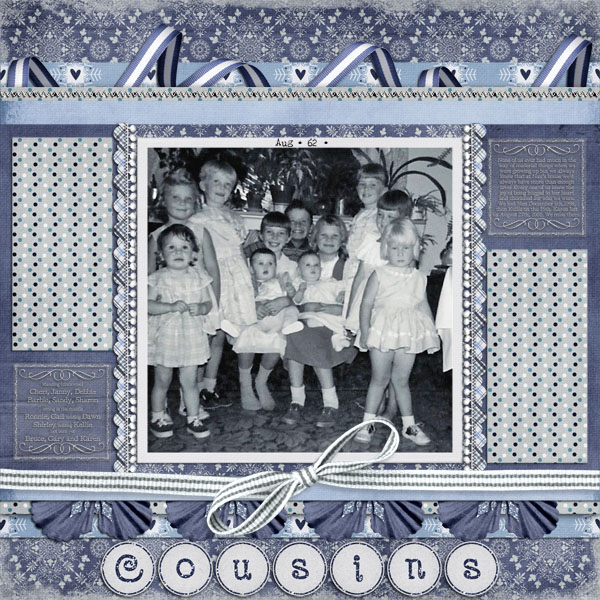
I used my vellum on a layout with a heritage photo of me with my cousins taken more than 50 years ago. It seemed appropriate. You know what the best part of using digital vellum is? The adhesive is invisible! (Anybody who has ever used real vellum on a card or layout will know what I mean.) This is what my vellum journalling blocks look like on my layout. (Trixie Scraps Blue Christmas)
I hope you’re game to give it a try, and that you’ll share your creations with the Trixie Scraps Stars by posting in the Trixie Scraps Gallery. Now I must run and get my Christmas tree decorated while I still have time!)
~Jan

All Trixie Scraps Designs products can be found in the following online stores:
Trixie Scraps Shop * My Memories * Gotta Pixel * Ginger Scraps


