Hello again, all you Trixie Scrappers! This is my eleventh Masters Monday post since I joined Trixie’s blog team April 1 of this year. I hope y’all are getting as much out of them as I have. Today I’m going to show you some tricks for customizing and manipulating your shadows in Photoshop Elements. I know many of you think that isn’t really doable beyond the simplistic, but I’m here to give you the skinny! I’ve tried several different methods for making my shadows more realistic and this one seems to work the best for me. So let’s get started. I want to make my butterfly look like one of its wings is raised. My example is done on a plain paper background for clarity, and you may want to create a new blank file when you try it out. I like to do this kind of thing, as well as titles and clustered borders, on its own workspace so there are no distractions.
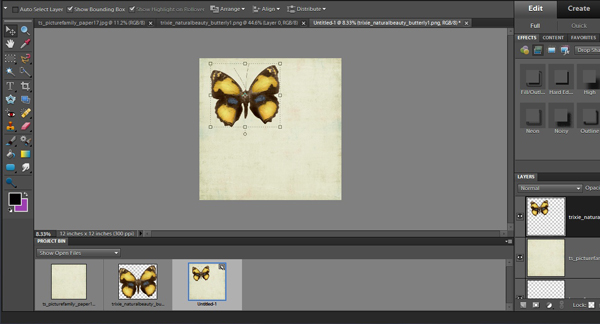
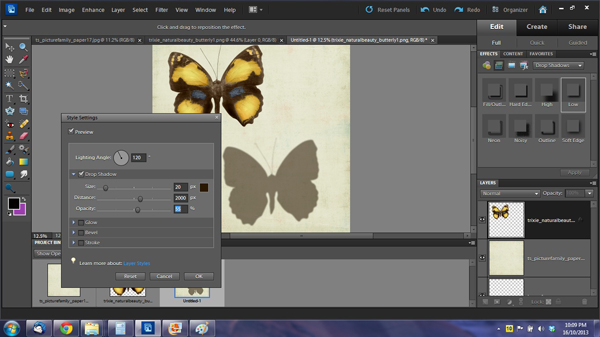
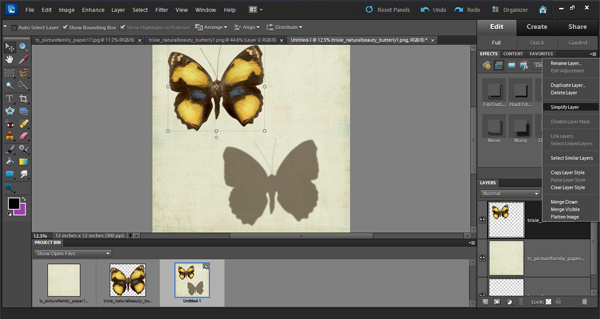
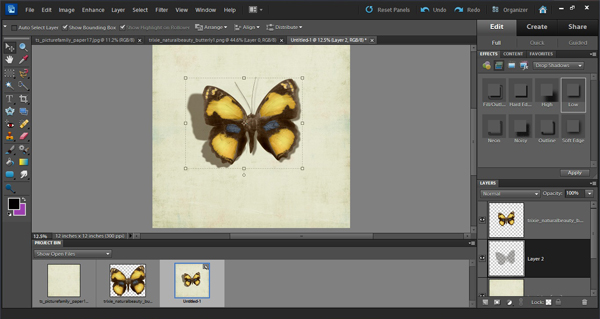
As you can see, I’ve moved my butterfly into the upper left corner of my workspace. You’ll see why in a minute. I’m using the PSE drop shadow styles that came with my software in this tutorial but if you have custom shadow actions from a designer you can use them just the same way. I selected the soft shadow and applied it to my butterfly. It shows up as a layer style in the layers palette rather than a separate layer.
When I double-click on the butterfly layer a flyout menu opens up that allows me to adjust the shadow in several ways. I changed the colour of my shadow to the umber colour I usually use by double-clicking on the little colour box in this menu, which opens another menu. Then I typed in “2c1901” in the box in the lower right corner of the menu and clicked OK. Back on the “fx” menu, I changed the distance to 2000, which moves the shadow a long way from the butterfly, and then I decreased the opacity to 55%.
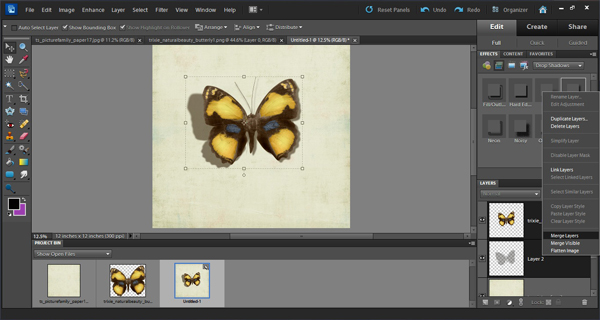
The next step is to simplify the layer. Right click on the layer and select “Simplify layer“, which eliminates the “fx” icon.
Using your rectangular marquee tool, draw a box around your shadow as shown. Then with your cursor inside your box, right-click which opens a menu. Select “Layer via cut“. Bingo! Your shadow is now on its own layer!!
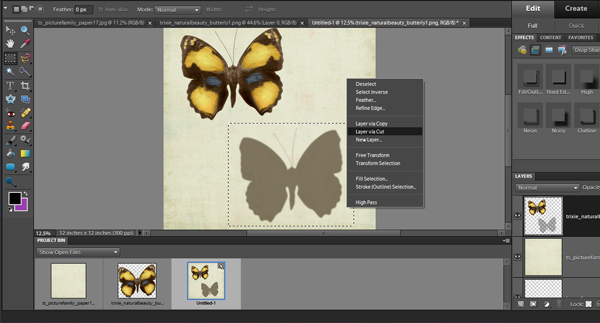
Before you go any further, move that shadow underneath your butterfly. (Drag-and-drop it or Ctrl>] will do that for you.) Now you can play with it to your heart’s content. Slide that baby up under your butterfly using your move tool and position it so that it peeks out from underneath at the angle your imaginary light source is coming from.
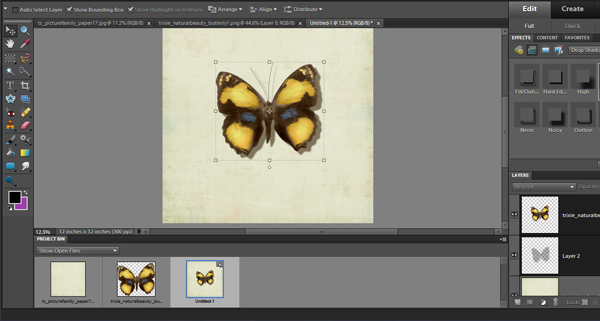
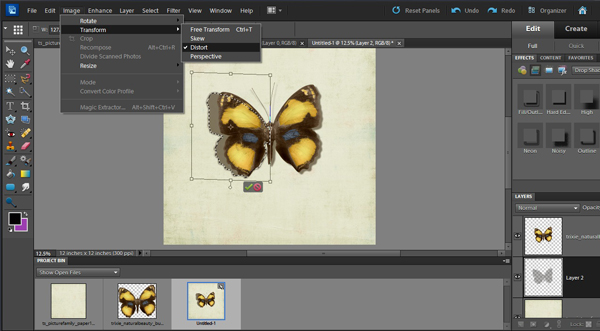
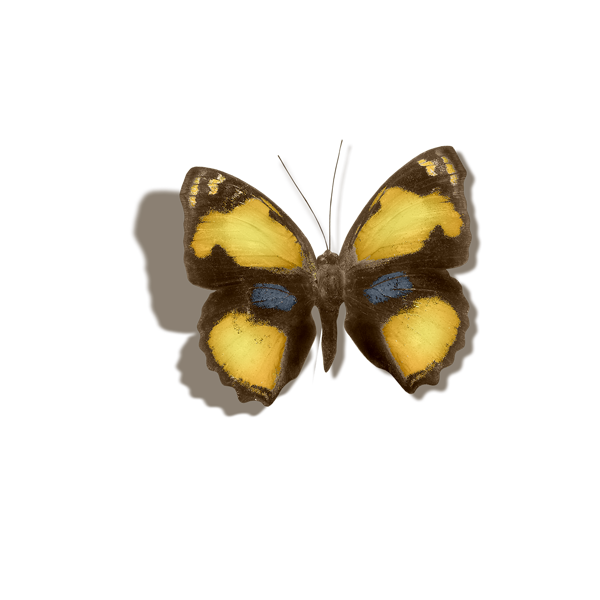
Now comes the fun part. I decided I wanted my light coming from the left upper corner and I wanted the left wing raised. So I selected that left wing and half the body using the rectangular marquee tool. Make sure you’re working on the shadow layer!!
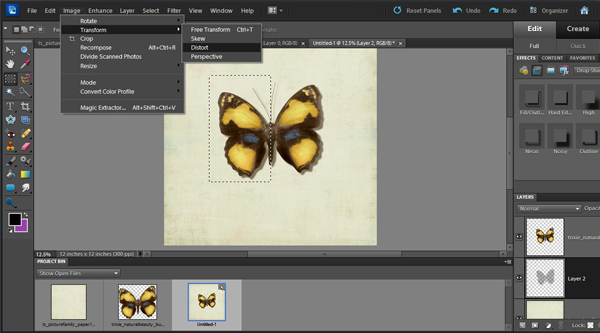
To make the selected area of the shadow look natural, I selected the image menu then moved down to “Distort” which gave me a new bounding box around my selected area. With this nifty feature, you can pull the ‘handles’ in each corner in any direction you want and it takes your image with it. I played around with my shadow until I had it stretched a bit and angled a bit.
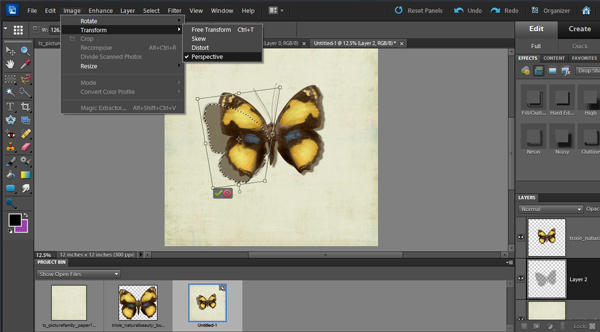
But it still didn’t look natural, so I played some more. I went back to the image menu and selected “Perspective“. I pulled on the handles to shift the wing into a much more natural-looking position.
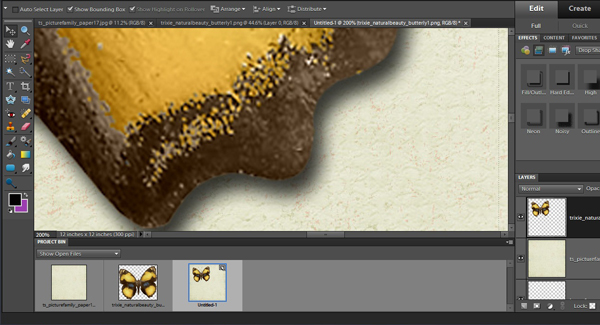
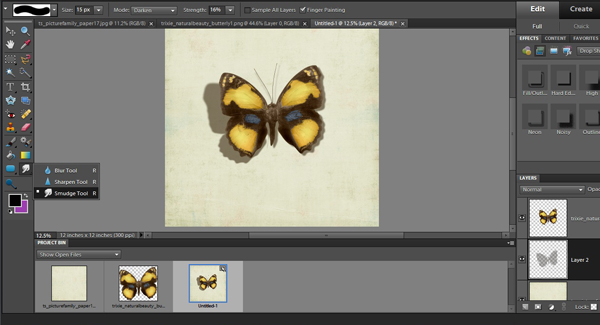
Now it was looking a lot more like I wanted it to. But there were still a few tweaks. I used the smudge tool (the one that looks like a finger rubbing on paper) and a brush that was almost the same size as my butterfly to push the edge of the shadow out a touch.
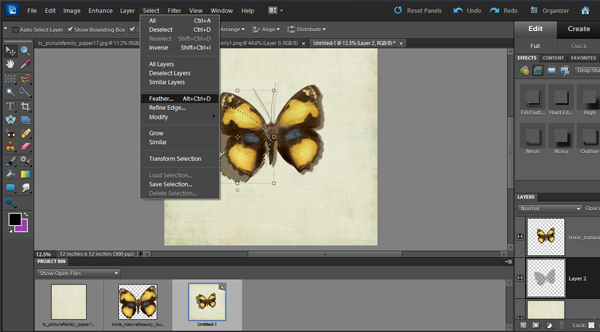
The edge of my shadow looked just a little too sharp, so I softened it by going to the select menu and choosing “Feather“. The little flyout asks how many pixels to feather and I typed in 10.
Are you still with me? It seems like there are a lot of steps and it’s really complicated but after you’ve done it a couple of times it’ll go so quickly! Here’s the end result. Looks pretty good, doesn’t it?
You can merge the two layers for easier handling, either by highlighting the layers, right-clicking and choosing “Merge layers” or with Ctrl>E.
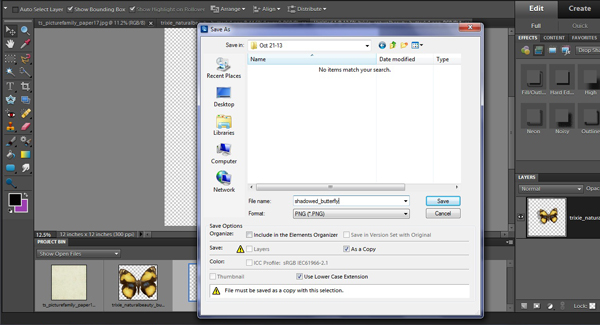
Don’t forget to save your work! Save it as a .png so that you’ll have a transparent background.
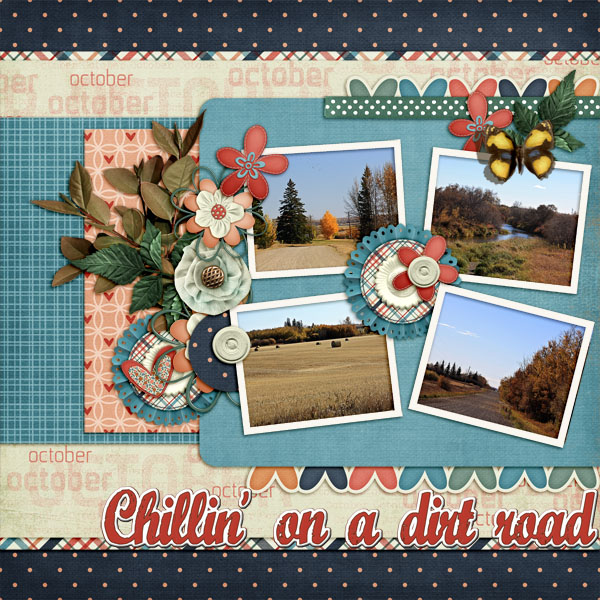
After all that work, I just had to use my butterfly on a layout!
I hope you’ll give this technique a try. It’s really not hard to do and it’ll make your layouts look so much more three dimensional. I welcome comments and questions, so don’t hesitate! And by all means, if there’s something you want to try but don’t quite know how to do it, let me know and I’ll see if I can help out.
~Jan

All Trixie Scraps Designs products can be found in the following online stores:
Trixie Scraps Shop * My Memories * Gotta Pixel * Ginger Scraps


