Happy Tuesday! Jennifer here with another edition of Tips, Trends and Techniques Tuesday! Last Tuesday, Trixie Scraps Star Jamie B introduced you to the fun technique of selecting a group of photos and sphereizing them, or making them into a cool looking globe! Today, I’m going to show our SBC+ (Storybook Creator Plus) software users how to do the same thing and provide you with a template to get started.
I’m going to show you how do make a globe using a 7×7 photo grid. You can play with this on your own using a 5×5, 6×6, etc sized grid. It all depends on how many pictures you want to use and how big you want the final images to be. As you’ll see on my finished page, there about 21 pictures out of the 49 picture boxes that are really visible, so don’t worry that you need to have 49 great images for this project.
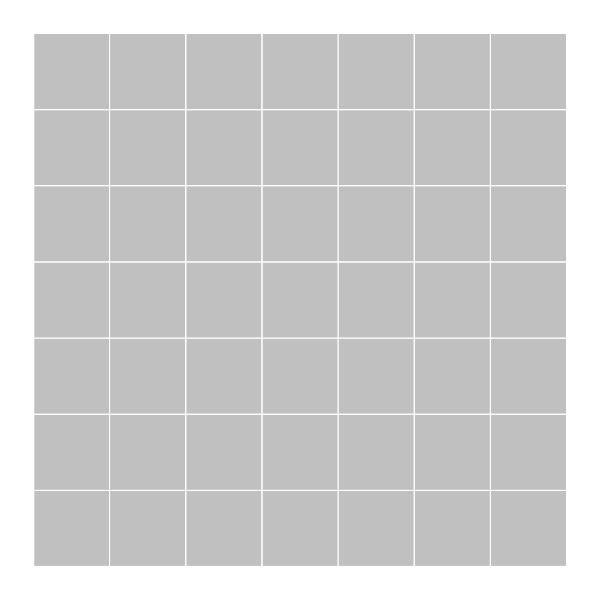
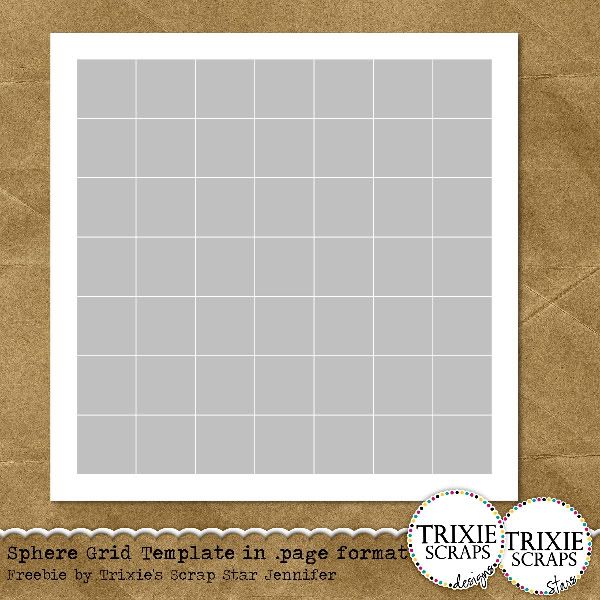
First, we’re going to start with our grid of 49 square photo openings. By using the squares, we’ll end up with a nice, round globe shape when we’re done. I prefer just a tiny bit of space around each photo as well. Again, use your own preference. You can eliminate the spacing if you like or add a small matte around all your photos as well. Have fun and remember there’s always the Undo button!
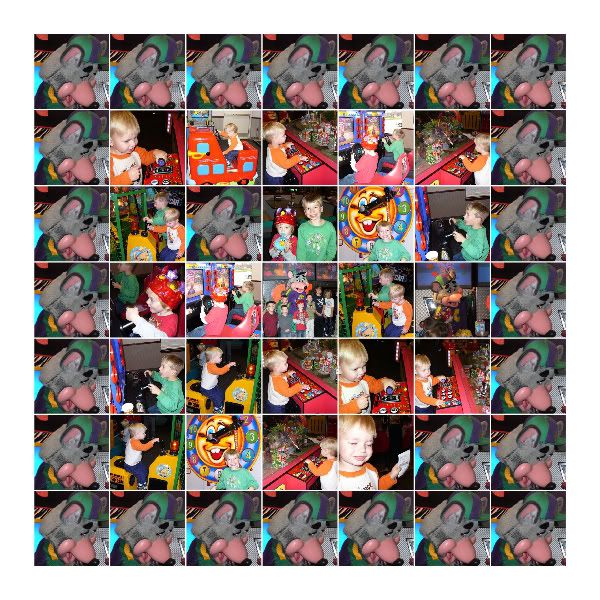
Fill the center 9 squares with your favorite photos, and then work your way out. For the outside squares, I used the same picture all the way around. In the final image, you’ll never know it.
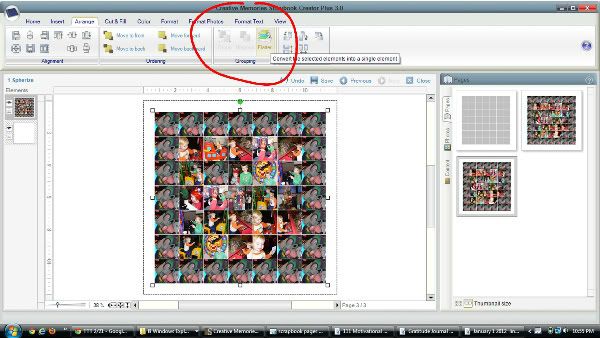
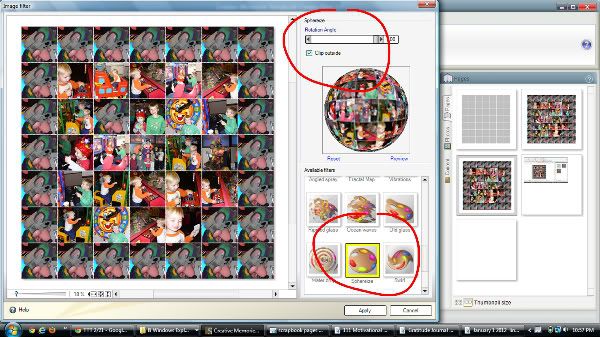
Once you have all your photo openings filled, make sure to save your work. Now, select all your photos, go to the Arrange tab and in the Grouping section select Group. Now select the grouped image and select Flatten. Right click on the grouped image and select Apply a Filter. At the top of the screen, check the box that says ‘Clip Outside’ and scroll down to the second row from the bottom and select Sphereize. Voila! You now have a globe!
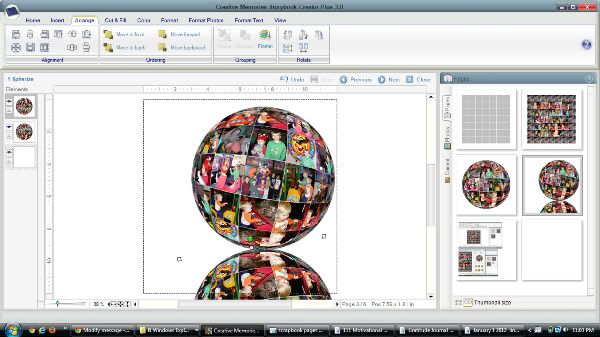
How easy was that?! Now, your globe can be treated like any other element on your page – add shadows, matte it, rotate it, etc. To add a reflection underneath your globe is easy peasy, too. First, make sure your globe is located on your page about where you think you want it to be when your page is done. Right click on it and select copy. Right click again on your page and select paste. Click on globe #2 and go to the Arrange tab and under Rotate select the up and down arrow to flip the globe upside down. Move globe #2 so that the top of the image is just touching the bottom of globe #1. Now go to the Alignment area and select the ‘center’ option so your globes are properly aligned. Save your work again. I added some rotation to mine. The bottom globe will needed to be rotated the same amount in the opposite direction to get the same effect.
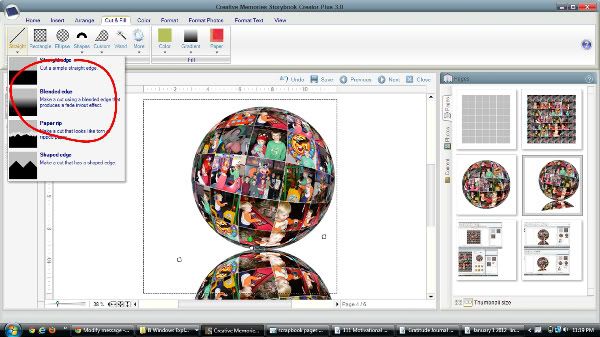
Now select globe #2, click on the Cut & Fill tab and select the Straight cutter and then Blended Edge. Decide how much of a reflection you want, and cut off the rest of the globe. Consider if you want to cut it on a straight, horizontal line or if you want to cut on an angle.
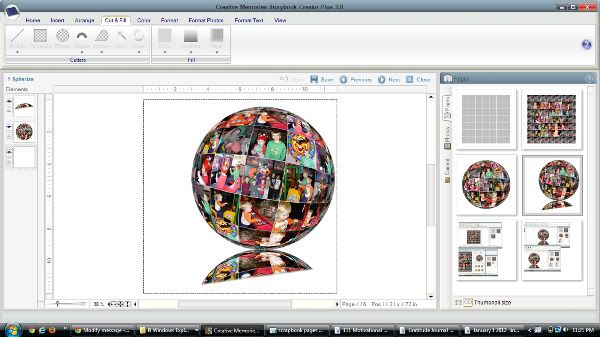
Make sure the remnants of globe #2 are selected, go to the Format tab and in the General section, click on opacity. I think you’ll find the best results around 50 percent. Slide the bar back and forth, and when you like the result, select Apply.
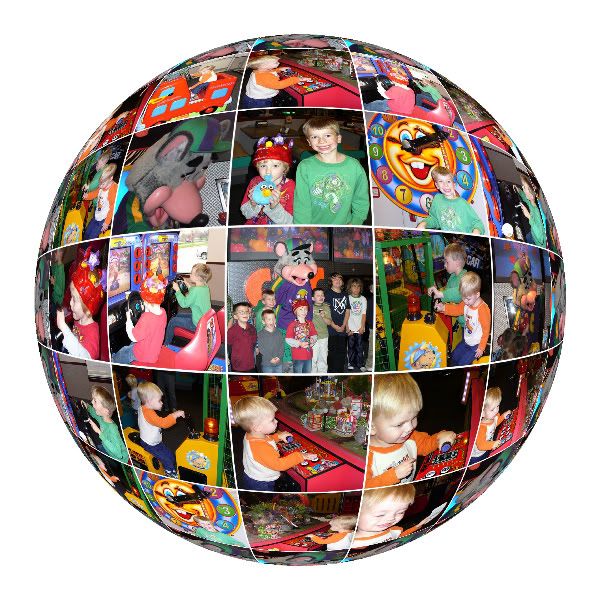
Now you can go ahead and finish your page! Here’s my finished page using the Charlies Arcade kit by North Meets South Studios (Trixie Scraps and Connie Prince):

I’ve also created a photo grid template in .PAGE format for you SBC+ users to use to get started. If you want the PSD, PNG or TIFF version, please see Jamie B’s blog post from last week.
I can’t wait to see what you come up with! Make sure to show us your globes in the Trixie Scraps gallery!!

All Trixie Scraps Designs products can be found in the following online stores:
Trixie Scraps Shop * My Memories * Gotta Pixel * Scrapbook Bytes * PickleBerryPop


Thank you so much for this post. I want to let you know that I posted a link to your blog in CBH Digital Scrapbooking Freebies, under the Page 5 post on Feb. 22, 2012. Thanks again.