• Home
  • About Me
    • Meet the Designer
      • Trixie Scraps Designs
      • Trixie Media
      • Trixie Loves Teachers
      • North Meets South Studios
    • Meet the Creative Team
      • Scrap Star Carrin
      • Scrap Star Jennifer
      • Scrap Star Mary Kate
      • Scrap Star Shauna
      • Scrap Star Shilo
      • Scrap Star Stacy
  • Store
    • Ginger Scraps Shop
    • Scrap Girls Shop
  • Blog
    • Learn – Masters Monday
    • Inspire – Wisdom Wednesday
    • Grow – Challenge Thursday
    • Reward – Free Downloads
  • Client Testimonials
  • Newsletter
  • Guest CT Application
  • Contact
    • Frequently Asked Questions – FAQ
    • Ask for Help
    • Teachers License Terms of Use
    • Privacy Policy

Trixie Scraps Designs

Great Designs. Your Memories. Perfect Together.

You are here: Home / Masters Monday / Masters Monday {Manipulating Multiple Layers in Photoshop Elements}

Posted On: August 26, 2013 · Written By: Scrap Stars

Masters Monday {Manipulating Multiple Layers in Photoshop Elements}

Hi all you lovely Trixie Scrappers. Welcome to this edition of Masters Monday. Today we’re going back to basics with a tutorial on manipulating multiple layers in Photoshop Elements. If you don’t already know how to do this, you’ll be surprised at how much this will streamline your workflow. So let’s get started.

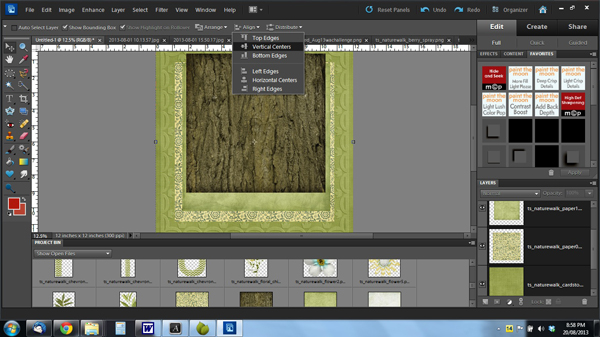
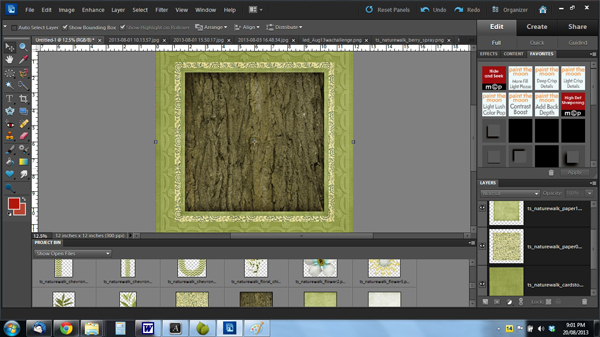
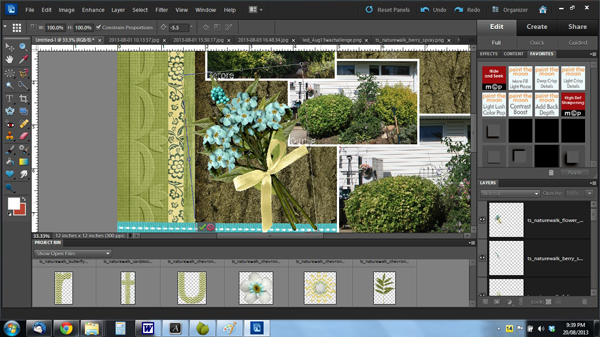
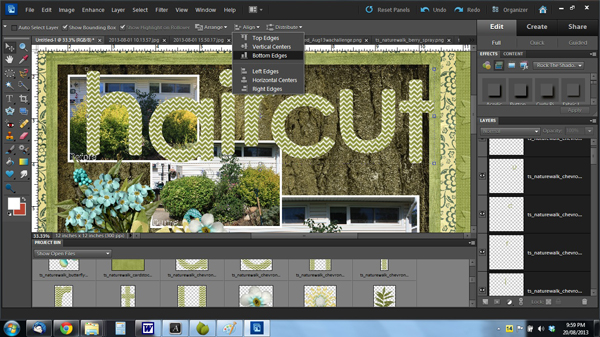
The first trick I’m going to show you is how to align a stack of papers. For my layout I wanted all my background papers to be concentric. Once I had them all the size I wanted them to be, I selected all four layers: Click on the top layer then Shift>click on the bottom layer. This highlights all the desired layers in the layers palette. Then select Align from the toolbar at the top, which will open up a drop-down menu. First select Vertical Centers. That aligns the layers top-to-bottom. Then Align>Horizontal Centers and your layers will be aligned side-to side. All your reveals are perfectly equal!

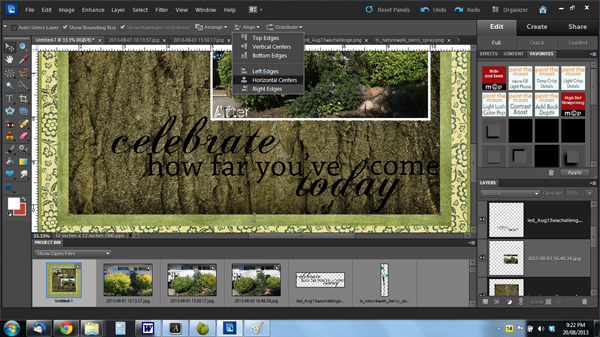
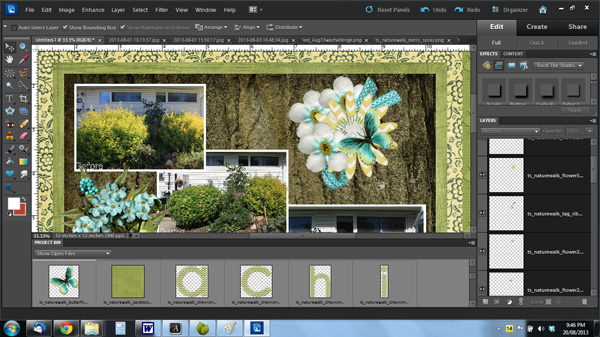
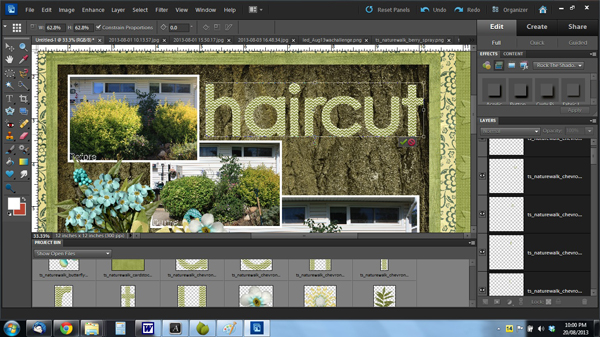
Let’s build on that now. I added my photos to my layout and then had some word art I wanted to use. I wanted to center it side-to-side on my background paper beneath my large photo. Since all those layers of paper were already aligned, I only had to choose one layer to center my word art. To work with two non-consecutive layers, click on the first layer you want to play with, then Ctrl>click on the next layer or layers one at a time. They’ll be highlighted in the layers palette. The next step is the same as for manipulating consecutive layers. Align>Horizontal Centers puts the word art perfectly in the center side-to-side on my paper.

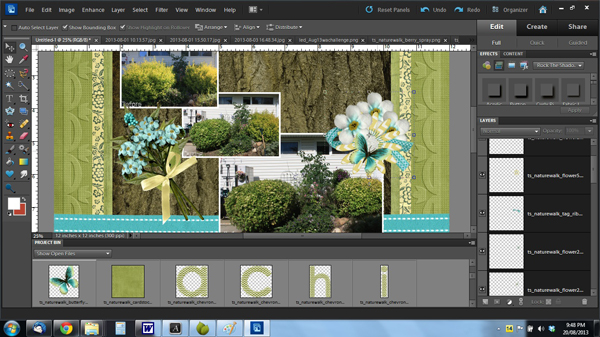
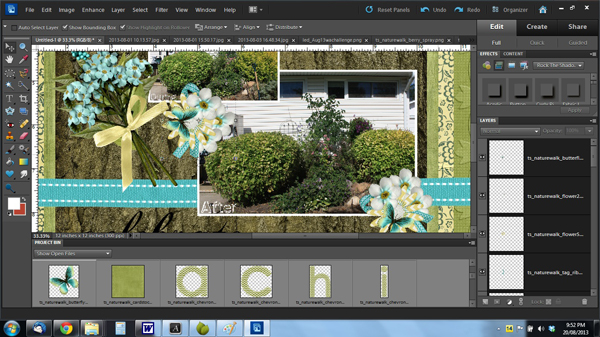
Now that you can align layers, let’s move a few all at once. I created a spray of flowers and leaves on my layout, but wasn’t sure where I wanted to put it. So I selected all the layers of the spray at once. [Click on the top layer>Shift>click on the bottom layer to highlight all of them.] Now you can move the whole collection together and put it right where it looks best. You can also move all those different items up or down the layers palette as one piece by using a keyboard shortcut, Ctrl>[ to move down and Ctrl>] to move up. I used the same steps to move all the layers of the cluster I created.

Looking at my cluster, the scale was all wrong. It looked odd, so I resized it and repositioned it until I liked it.

Did you know that you can duplicate multiple layers, keep them in the same order AND move them around as one piece? This is how you can make exact copies of clusters, for example, without having to strain your brain too much. I bet you’re already figuring out how this is done… Select all the layers you want to duplicate in the same way I’ve already described. [I wanted to duplicate my cluster.] Then right click and select Duplicate Layers. A fly-out menu will appear; you want to keep the duplicated layers on your layout so just select OK. (We used this process for moving items from one template to another in my blog post from May 6, 2013: Making the Most of Templates) Now you’ve created an exact duplicate of your cluster. 
By doing it this way, rather than merging the layers and then duplicating, you can now play with individual layers of your new cluster. When I put the cluster copy where I wanted it to go, the butterfly didn’t look right, so I was able to swivel it around.
But what about typing on tags or journalling cards? I often like to tilt my tags/cards for visual interest. It’s easier by far to type on the tag first, align the type so that it looks good on the tag and THEN tilt. That’s accomplished just like the other tricks we’ve already tried. Select the layers, move them around as one piece and then settle them in. The advantage to doing it this way and not merging the layers is so that you can later on correct those typos that always sneak past until you’re posting in the gallery and… EGADS! I spelt my husband’s name wrong! You can also go back and change your font, add words and otherwise edit your text later if you like. If you look closely at the tag in my completed layout, you’ll see that I added a word to my text.
I typically build my titles in a new file that I play with until I’m happy with it, but I wanted to show you on my layout how to align alphas the easy way, and then how to resize the title to fit your space. We’ve already talked about each of these steps above. So toss your alphas onto your layout, then select all the layers that you want to line up. Select Align>Bottom Edges and voila! Perfectly aligned letters. Of course, this only works with letters that don’t have tails. For those ones, you’ll want to skip over them, align the rest, then individually line up the tailed letters. You can use a guide or a grid to help with that, or you can go by your eyeball. Resizing and moving your title is done exactly the same way you moved your cluster layers.
Now that you’ve seen my layout in bits and pieces, here it is whole.
All of this may seem overwhelmingly complicated but I promise that once you’ve done it a few times, you’ll be doing it automatically! And your layouts will come together so much quicker, you’ll wonder how you got along before. Now off you go… try some of these tricks. I’d love to hear what you think about this or any of my other tutorials – feel free to comment below!
~Jan

All Trixie Scraps Designs products can be found in the following online stores:
Trixie Scraps Shop * My Memories * Gotta Pixel * Ginger Scraps

«
»

Filed Under: Masters Monday

  • Facebook
  • Instagram
  • Pinterest
  • RSS
  • Twitter
  • YouTube

Stay in Touch!

Subscribe to my monthly newsletter to get updates on all my latest product releases, sales and free goodies, too! I've also provided options below for blog feed subscriptions, on either a daily or weekly basis. Don't miss a second of our awesome content!

Recent Posts

  • iNSD 2022 – Happy interNational Scrapbooking Day!
  • May 2022 Buffet Sale – You Say
  • April 2022 Buffet Sale – A Happy Song
  • April Fools Day Sale – Everything is 60% off!
  • March 2022 Daily Download Freebie Kit & Sale!
Guest Scrap Star Application

Archives

Categories

  • $2 Tuesday
  • Back from the Vault
  • Buffet Sale
  • Challenge Thursday
  • Digital Scrapbooking Freebies
  • Feature Friday
  • Fonts We Love Friday
  • Masters Monday
  • Merry Memories
  • Monthly Bake Sale
  • Monthly Desktop Freebies
  • News & Announcements
  • North Meets South Studios
  • Saturday with the Stars
  • Scrap Saturday
  • Sentiment Sunday
  • Special Request Sunday
  • Sunday Showoffs
  • Uncategorized
  • Wisdom Wednesday

Meta

  • Log in
  • Entries feed
  • Comments feed
  • WordPress.org

Helpful Links

  • Read My Blog
  • Visit My Shop
  • View Your Cart
  • Contact Me

Latest Freebies From My Blog

march 2022 daily download
dsd 2021

ABOUT TRIXIE SCRAPS... I'm Tracy, aka Trixie and owner/designer of Trixie Scraps Designs. I'm a 30-ish mama to 2 fur-babies, Lucy and Diamond. Creative to my core and married to shutterbug/big idea man/best guy ever, Erick. We currently live in a Kansas City suburb... but those who know me best know I'll always be a Jersey girl at heart. I'm a homebody and entrepreneur by nature Read More…

My Memories Suite Software Discount

MyMemories Suite Software Discount

Return to top of page · Copyright © 2025 Trixie Scraps Designs Great Designs. Your Memories. Perfect Together. · This site runs on Genesis for WordPress · Log in

Loading...

Insert/edit link

Enter the destination URL

Or link to existing content

    No search term specified. Showing recent items. Search or use up and down arrow keys to select an item.