Welcome to another Master’s Monday on the Trixie Scraps blog. I hope that however you celebrate this Memorial Day, you take time to remember those who have fought for our freedom.
Now onto our Master’s Monday. It’s all about banners.
Getting A Banner
I orginally got the idea for today’s Master’s Monday from Phlearn.com. Here’s a tutorial on adding just the text to a banner if you are up for searching for just the perfect one and getting started.
If you’re all for creating one for yourself, strap yourself in – you’re in for a ride.
Banner 101
The best part of this tutorial is that the banner actually comes from a font. Yes, a font! The font I used is called KG Flavor and Frames. The banner I used is the lower case j as that is the filled in banner.
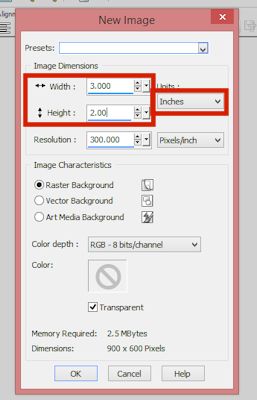
I started by creating a new document in the size 3 inches by 2 inches.
Then I selected my font and had to play around with the font size to get the correct size. For my colors I had both black. You want your colors the same so that you can change the color or add a paper to it later.
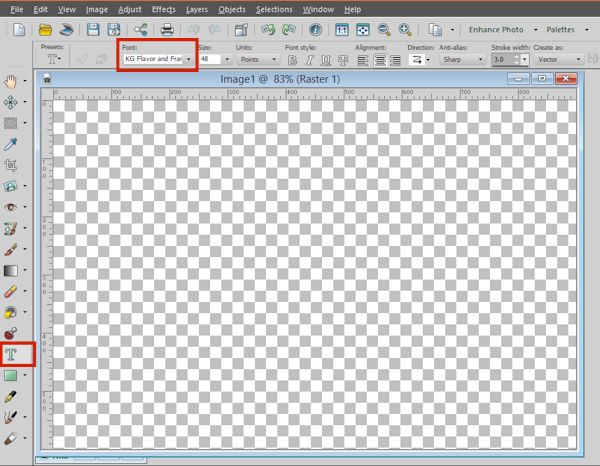
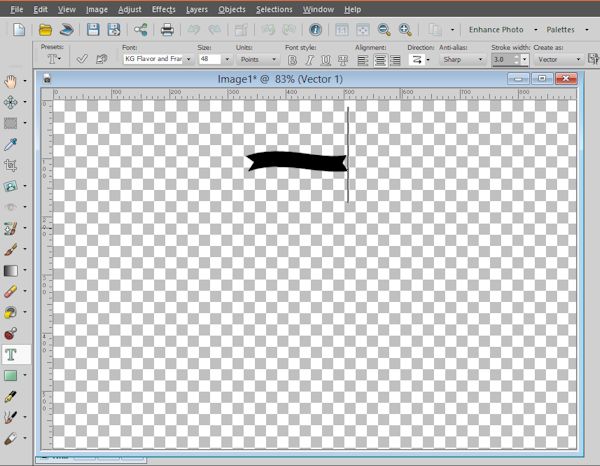
As you can see, 48 wasn’t the correct point size.
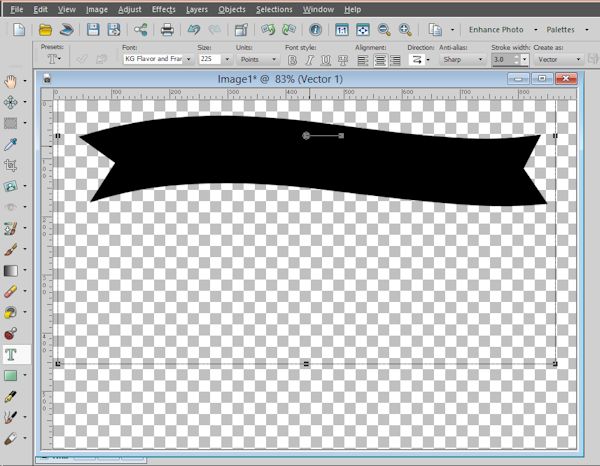
225 was the size that worked best for me.
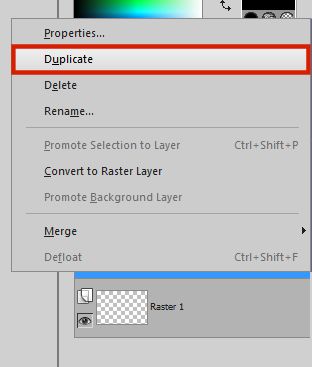
Instead of retyping the banner each time, I just duplicated it the amount of times I needed.
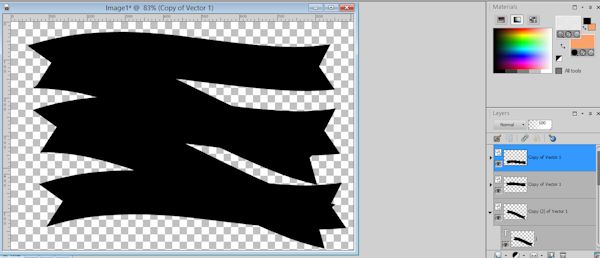
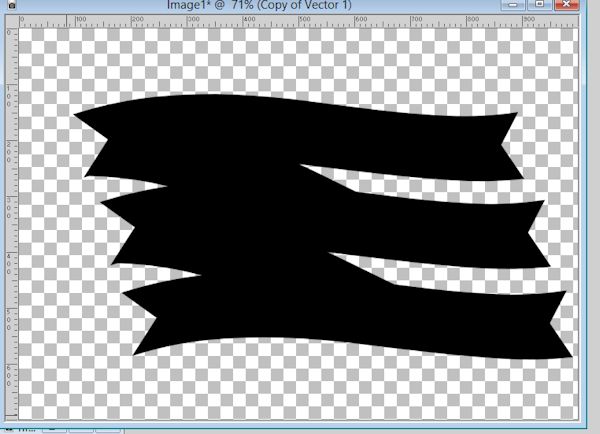
I then went about rotating each banner in just the right position. You will see that some banners don’t quite look right and fit in the right spot. But it’s okay, we’ll take care of that in a bit.
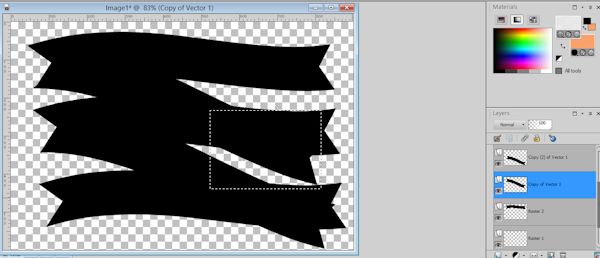
To get rid of the excess, you make sure you select the correct layer, select the area that isn’t quite right and then hit delete. If you are on the right layer, it should just delete the area that’s off.
When you’ve got your banner looking the way you want it to, you’ve got to do some editing to differentiate between the back banners and the front banners. I did this by changing the back banners to a different color. Select the banner and then flood fill it with the color you want. Make sure you change each layer to a raster layer before changing colors, or it won’t work correctly.
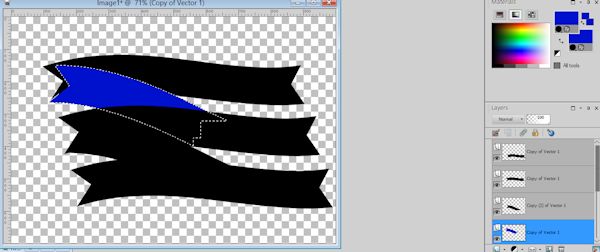
You can now see the difference between the front banners and the back banners. You also want to make sure that the back banner layers and BENEATH the front banner layers.
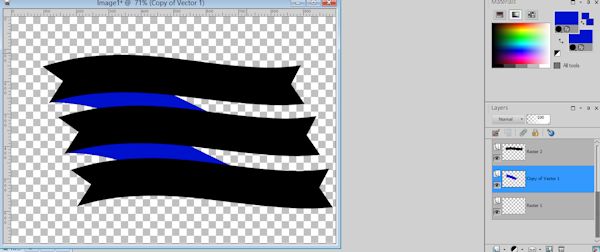
You can now save this as a file. Just make sure you save it in a way to preserve the transparency.
Using Your Banner In A Layout
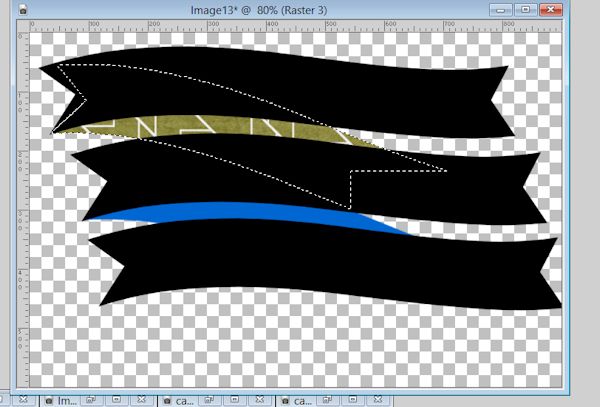
Now if you want to use your banner in a layout, you’re gonna want to change the color scheme. I wanted to use papers that came with the kit I was using, so I went about doing that.
You start by selecting each seperate banner. This is where the difference in color helps out. You will only be selecting one section at a time. Make sure you are also selecting the correct layer. After you get your layer selected and you have the marching ants or outline, you can flood fill it with the paper or color of your choice.
After filling in the front banners, add a drop shadow to it. This also helps to differenciate between the front and back banners. In the example below y ou can see how the second and third banners stand out a little bit from the background banner and the top one doesn’t so much. I hadn’t added the drop shadow to the top yet.
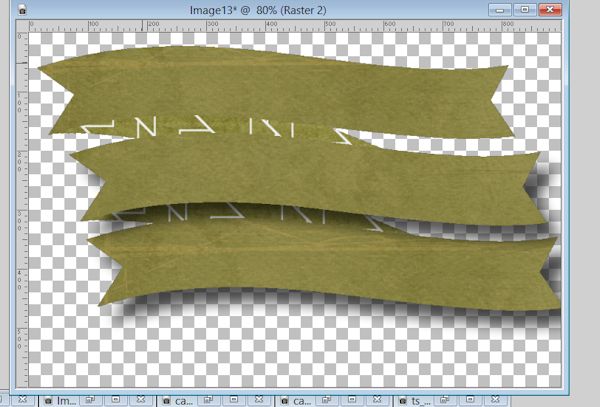
You are then ready to use it in your layout. You can always shrink it if it doesn’t quite fit. If you need a larger sized banner, start of with a larger size at step one.
Waving My Banner
Here’s a look at the layout I created and the little banner on my photo. I used the kit Nature Boy which is a new release.
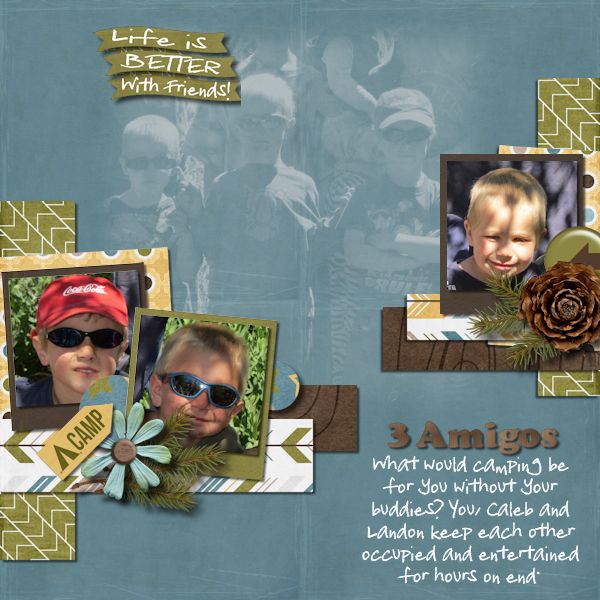
Layout by Shilo
How can you encorporate banners into your layouts? We’d love to see them. Whether you create them yourself or follow along with the Phlearn tutorial. Please leave your layouts in our gallery, so you can win an awesome prize.


