Hi scrappers, Amanda here again with another great Triple T Tuesday. Today I’m going to show you a way to do selective coloring on your pictures. There are several ways out there that this great technique can be accomplished, but I have found this one to be the most forgiving.
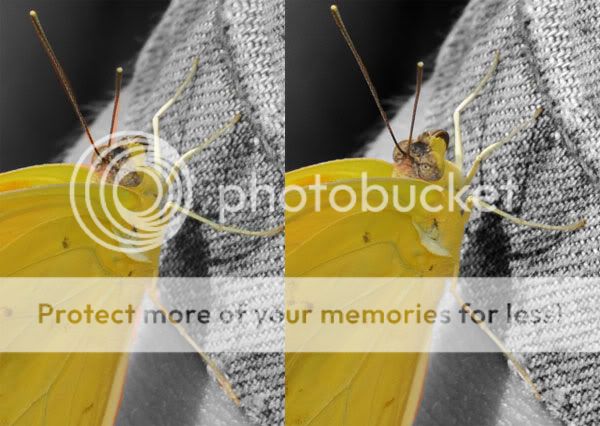
Selective coloring is a great way to draw the viewer’s attention to a certain detail of your picture.
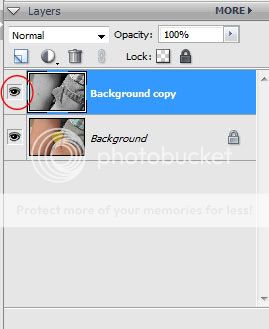
After you have selected a picture that you want to use selective coloring on, make a duplicate copy of it. (I know I start off each tutorial with this step, but it is a very important so you don’t accidently save over top of your original. I want to make sure everyone remembers to do it.)
Now we want to make a black & white copy of this picture on top of the color copy. If you don’t remember how to do this, check out this post on Trixie Scrap Stars blog. Now that we have that done go ahead and make this layer invisible. (Don’t worry this step wasn’t a waste of time, we will be coming back to it in a little bit.) Click on the eye in front of the layer in the Layers Palette to turn this into a hidden layer.
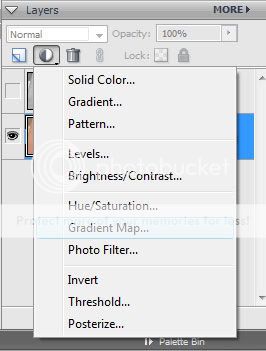
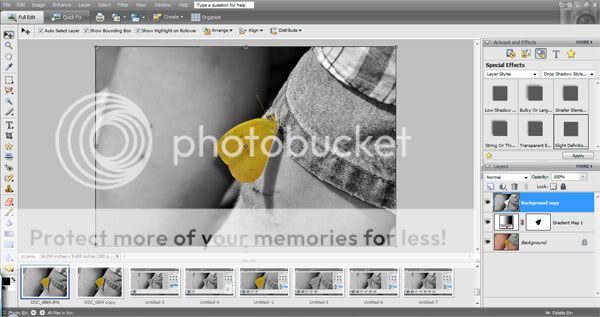
Go up to the Layers Mask menu and select Gradient Map.
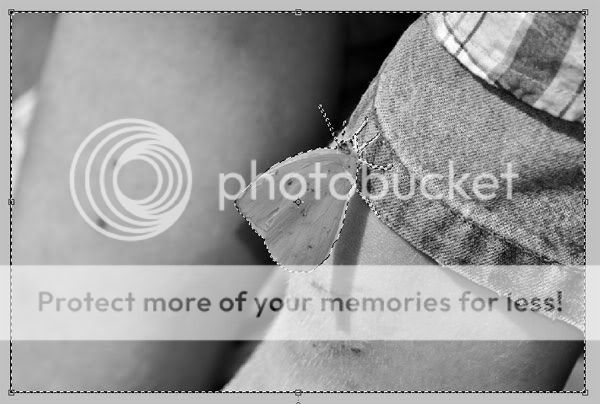
Make sure your foreground/background colors are black & white. If they aren’t click on the little icon below the Colors Palette (D in Photoshop). Set your Foreground color to black. We are now going to use the Brush Tool (B in Photoshop) to “erase” part of this layer mask. Make sure that you have the white box in the Layer Mask layer active (there should be a box around it)and use your Brush Tool to uncover what you want to be selectively colored.
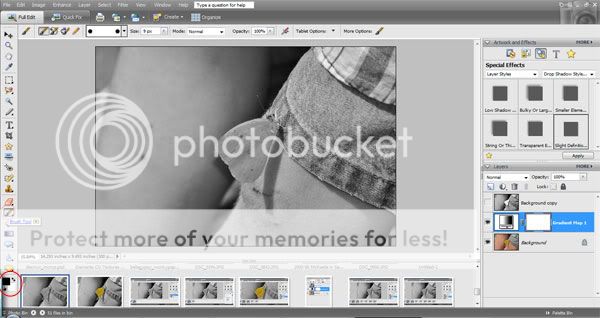
The great thing about this technique is that if you accidently uncover more than you want to you can just go back over those spots using white with your brush tool. Black will allow the lower layer to show through & white will cover it back up. Until I discovered this technique I would just use my eraser tool and erase the black & white layer to let the color show through. In this picture I wanted to draw attention to the butterfly on my son’s leg and using that technique would have been a bit harder. The antennae and legs are very thin and it’s quite difficult to just uncover them and other things around them by erasing. By using the layer mask technique, I just went right over them with the black not worrying about how much extra showed through and touched the area up using white.
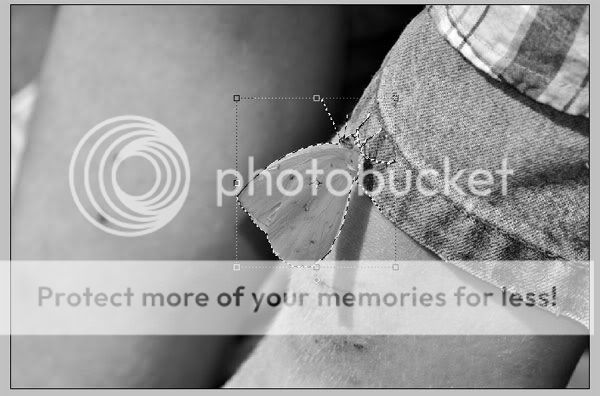
When you are happy with the area that is showing through, Ctrl + Left click on the white box in the Layers Mask layer. This will put marching ants around the white part of this layer. Time to go back and revisit the black & white picture we created at the beginning. Make this layer visible again by clicking on the box where the eye icon was.
Now inverse the selection by going under the Layer’s menu at the top and selecting Inverse Selection or using Ctrl + Shift + I. This will put the marching ants around just the area that you want to show through.
Make the black & white picture your active layer and hit delete on your keyboard.
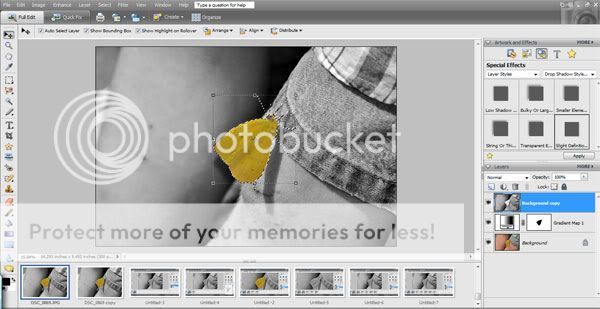
Go ahead and turn the selection off by going up to the Layer menu and selecting Deselect or Ctrl+D.
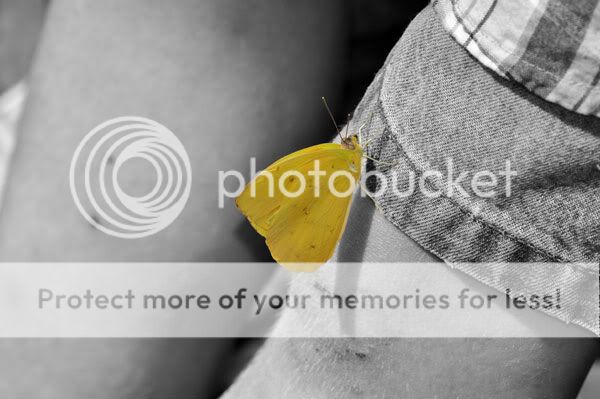
You now have a selectively colored picture.
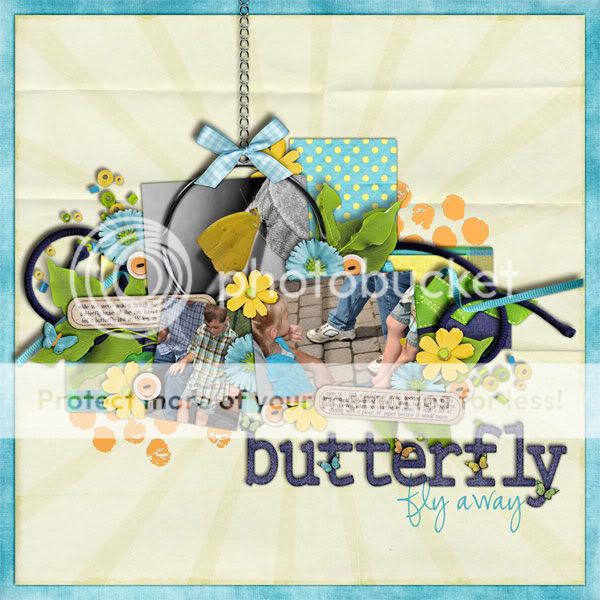
Here is the layout I made with this selective colored picture using mainly Trixie Scraps & Madame Wings Daisy Crazy kit.